Adding Student Computers in the Console
To be able to monitor the student computers, you must first add them to the console. You can add computers in four ways:
- Add computers manually
- Add computers from Cloud
- Scan network for installed agents
- Add group of LAN computers
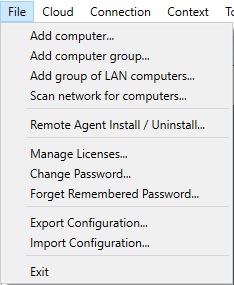
Use File menu to add computers:
Add Computers Manually
Select "Add computer..." from File menu:
The dialog has two tabs:
- Basic Options
- Advanced Options
Basic Options
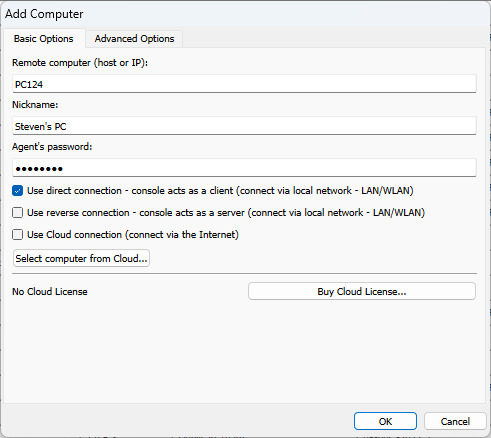
Parameters:
Remote computer (host or IP):
Enter the network hostname or the IP of the student computer. When using DHCP on the local network you must enter the computer name.
Nickname:
Enter the name that you want to be displayed to easily identify the student computer.
Agent’ password:
In this field, enter the same password used when installing the agent.
Connection Type:
Direct Connection
It uses a direct TCP/IP connection between the admin console and the agents. The console acts as a client and the agent as a server. Direct connection works, e.g., if all computers are on the same network or proper routing is configured between subnetworks. The used port (default TCP 5444) must be enabled for communication.
Reverse Connection
It uses a direct TCP/IP connection between the admin console and the agents. The console acts like a server, and the agent as a client. Reverse connection works, e.g., if all computers are on the same network or proper routing is configured between subnetworks. You need to enable "Console Reverse connection Server" in the console. You need to specify console(s) host-name or IP to which agent will connect. The used port (default TCP 444) must be enabled for communication.
Cloud Connection
You can choose to make this computer accessible also via a Cloud connection by selecting "Use Cloud connection" which allows you to monitor the computer over the Internet.
Cloud license is subscription based. Read more about installation to the Cloud.
Advanced Options
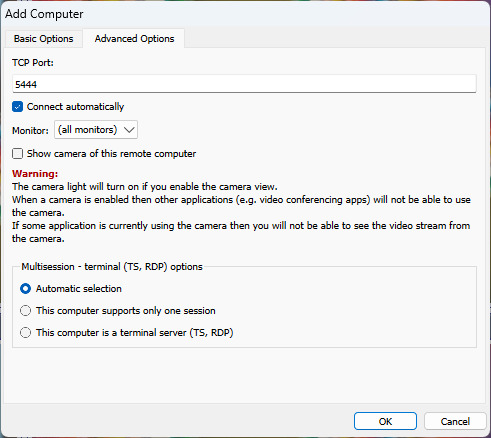
Parameters:
TCP Port:
In this field, enter the same port used when installing the agent. The default port is 4495.
Connect automatically:
Mark this checkbox if the student computer should be automatically connected when the “Classroom Spy Professional Console” starts.
Monitor :
Select which monitor will be displayed as thumbnail.
Multisession - terminal (TS, RDP) options :
Select if your computer is RDP, TS server. This will allow you to see all remote sessions.
Add Computers from Cloud
If you installed the agent on student computers using Cloud Connection type, then you can now add those computers to the console.
Please make sure that you created Cloud account. Cloud account can be created during agent installation or by using menu " Cloud / Create cloud account...".
Click here to read more about Monitoring using Cloud connection.
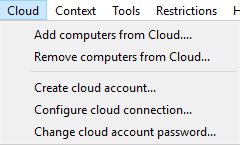
If you already created Cloud account then you can enter this Cloud account login information to the console using menu " Cloud / Configure cloud connection":
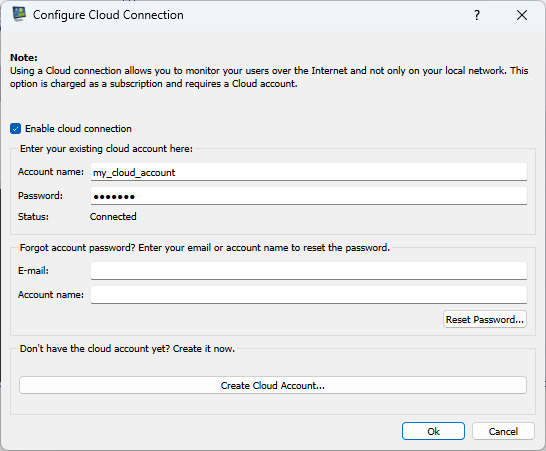
After that, you can use menu " Cloud / Add computers from Cloud" to add the computers that were already added to the Cloud.
When adding computers from the Cloud, you need to enter agent password (the password that was entered using agent installation on the student computer)
Scan Network for Installed Agents
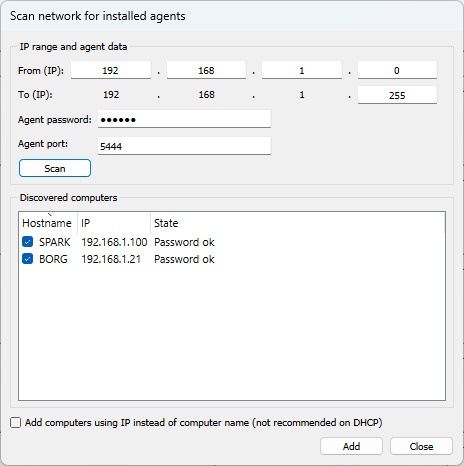
If you already installed agents on student computers, you can scan the network and add them automatically.
Add Group of LAN Computers
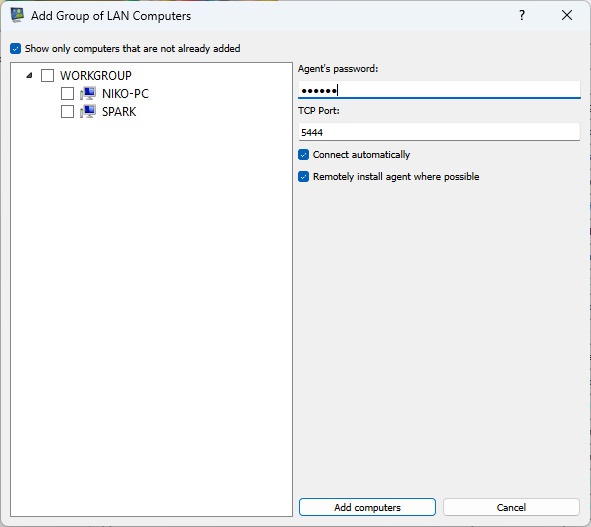
You can automatically add computers on your LAN. Agent can be installed remotely if your LAN permits this (e.g. if you are NT DOMAIN Administrator).
Student Computers List
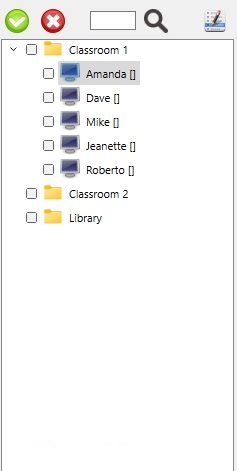
The Student Computers List displays all computers added. The computer icon displays the state of the student computer.
Several system commands can be easily accessed using the Object Menu, which can be invoked using a right mouse click.
Computers can be organized in groups - use " Add computer group..." from File menu.